Table of Contents
ToggleImagine biting into a cookie that not only tantalizes your taste buds but also flirts with your imagination. Welcome to the universe of Flour Power Nebula Cookies. These delectable delights aren’t just treats: they’re intergalactic journeys in cookie form. In this text, we’ll explore the origins, the art of baking, and how to sprinkle a little love into each batch. Get ready to embark on a baking mission that’s more fun than a meteor shower.
The Origin of Flour Power Nebula Cookies
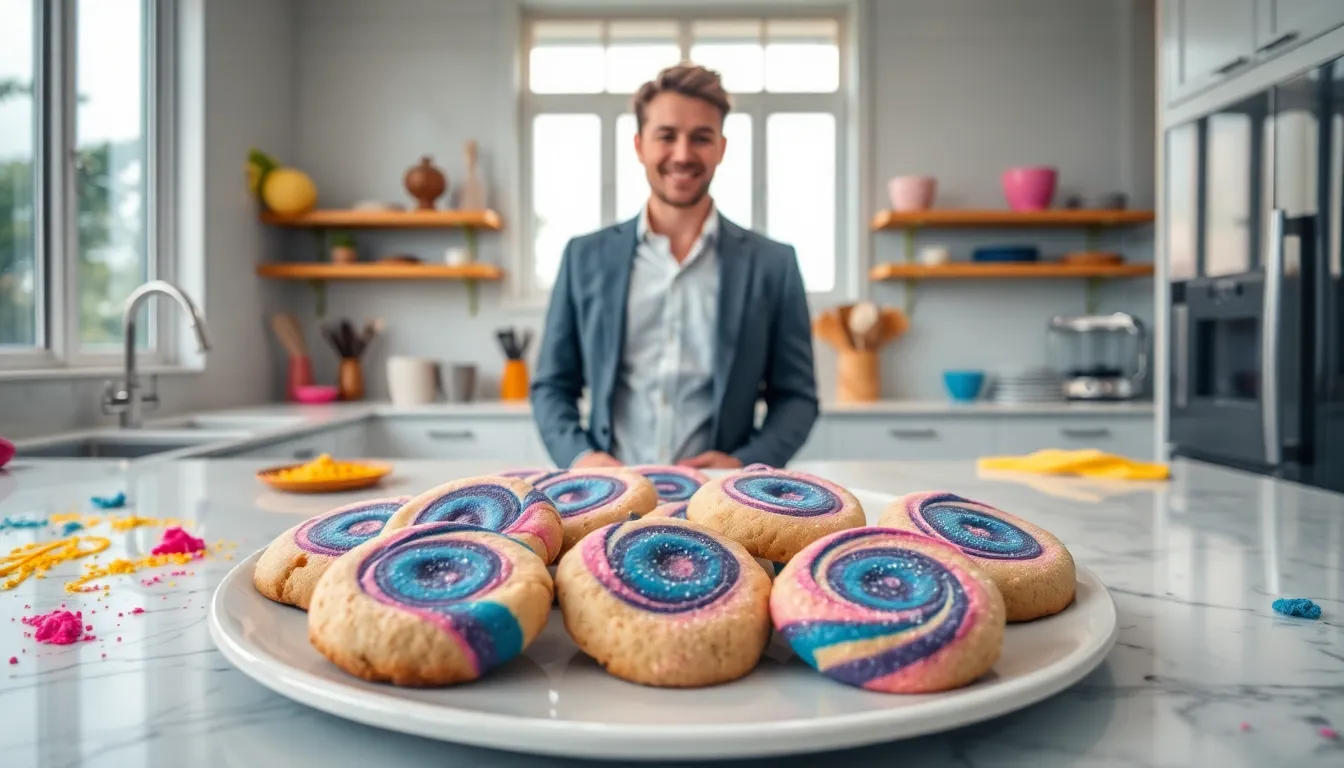
The tale of Flour Power Nebula Cookies traces back to the enchanting realms of home baking, a whimsical world where every cookie has a story. Legend has it that a passionate baker, inspired by the surreal beauty of the cosmos, decided to embody the galaxies in a cookie form. By merging vibrant colors and fantastical flavors, the Flour Power Nebula Cookie was born. With hues reminiscent of swirling galaxies and a taste that’s truly out of this world, these cookies became sketches in flour and sugar, aiming to capture hearts across the universe.
Ingredients for Flour Power Nebula Cookies
To create these stellar cookies, one requires just a few simple ingredients that weave together to form edible art. Here’s a shopping list that reads like a cosmic recipe:
- 2 ¾ cups all-purpose flour
- ¾ teaspoon baking soda
- ½ teaspoon salt
- 1 cup unsalted butter, softened
- 1 cup granulated sugar
- 1 cup packed brown sugar
- 2 large eggs
- 1 teaspoon vanilla extract
- Food coloring (blue, purple, and pink for that nebula effect)
- Edible glitter (optional but fantastic)
Gather these ingredients and prepare for a baking escapade that will leave taste buds dancing.
Step-by-Step Guide to Baking
Ready to bring your cosmic cookie dreams to life? Follow this simple step-by-step guide to ensure your Flour Power Nebula Cookies turn out perfectly:
Step 1: Preheat the Oven
Preheat your oven to 350°F (175°C). Line your baking sheets with parchment paper. This will keep your cookies from sticking and make cleanup a breeze.
Step 2: Mix the Dry Ingredients
In a large bowl, whisk together the flour, baking soda, and salt. This combination is the backbone of your cookies, ensuring they rise and taste just right.
Step 3: Cream the Butter and Sugars
In another bowl, beat the softened butter, granulated sugar, and brown sugar until it’s light and fluffy. This wonderful, relatively simple, step creates a creamy, dreamy base for the cookies.
Step 4: Add Eggs and Vanilla
Add the eggs one at a time, mixing well after each addition. Then stir in the vanilla extract. Oh, that heavenly aroma starts to unfold.
Step 5: Combine Dry with Wet
Gradually mix in your dry ingredients with the wet mixture until just combined. It’s essential not to overmix: we want to keep our cookies light and airy.
Step 6: Divide and Color
Here comes the fun part. Divide the dough into three bowls. Use food coloring to dye each portion a different cosmic hue. Swirl them together just enough to create a nebula effect.
Step 7: Shape and Bake
Scoop tablespoon-sized portions of the dough onto the prepared baking sheets. Space them a few inches apart, as they’ll spread while baking. Pop them into the oven for about 10-12 minutes, until the edges are golden.
Step 8: Cool and Enjoy
Remove the cookies from the oven and let them cool on the baking sheet for 5 minutes before transferring them to a wire rack. This firm cooling allows them to maintain their shape.
The Artistic Touch: Decorating Your Cookies
Decorating Flour Power Nebula Cookies is where creativity truly sparks. Once cooled, it’s time to bring the cosmos to your cookies:
- Icing: Use royal icing to draw swirls or star shapes on the surface. This creates a lovely texture.
- Sprinkles: Edible glitter can transform your nebula into a glittering starfield. Sprinkle responsibly, after all, too much glitter might make you feel like you’re in a craft store explosion.
- Airbrush Techniques: For those adventurous bakers, try using airbrush techniques to add depth and even more vibrant hues.
These artistic toppings turn your cookies from simple treats into show-stopping celestial delights.
Baking for Love: Sharing Cookies with Others
Cookies don’t just fill stomachs: they can fill hearts too. Sharing your Flour Power Nebula Cookies can be the ultimate expression of love. Whether it’s surprising a friend, gifting to a neighbor, or sharing with family at a gathering, a homemade cookie says, “I care.”
Instead of simply handing them over, consider placing the cookies in a beautiful gift box or wrapping them in colorful cellophane to recreate that cosmic feel. Attach a handwritten note sharing the cosmic journey of these cookies, because a personal touch can elevate any gift.
Creative Variations on Flour Power Cookies
Why stop at nebula designs? Flour Power Cookies can morph into a variety of delightful treats:
- Galaxy Marble Cookies: Incorporate additional flavors like chocolate or nuts for a delightful surprise.
- Nebula Cookie Bars: Turn your dough into bars for a chewy twist on your cosmic creation.
- Personalized Message Cookies: Experiment with cookie stamps to imprint messages or designs that resonate with loved ones.
Overall, the possibilities are as vast as the universe itself. You can experiment and expand upon the basic recipes, making each cookie unique.